Nov 19 2025
First off, you may wonder why I'm writing this guide for Debian 12 when Debian 13 just came out. The reason for this is because Debian 13 doesn't seem to be compatible with Whonix. Besides Debian 12 will receive security updates until 2028. So let's install it!
Let's assume you have already created installation media such as a DVD or USB drive.
- If you have not created installation media and you have Windows, follow this guide.
- But don't install Ubuntu! Instead download Debian 12.12 ISO from the following link.
Boot installation media on your laptop or PC by entering BIOS and changing boot order.
If you've made it this far, great work! Now we are ready to begin the installation.
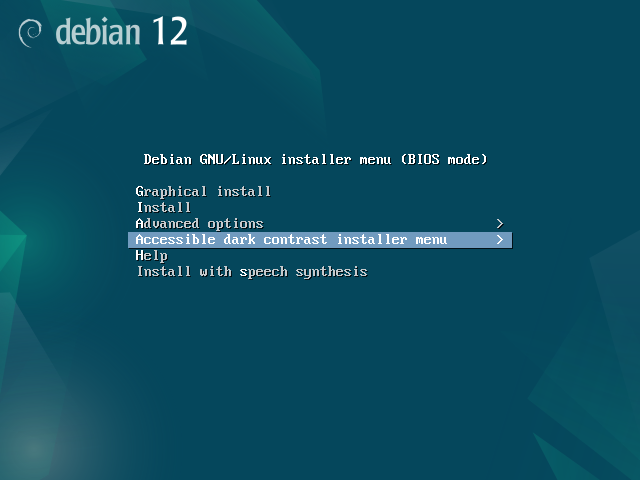
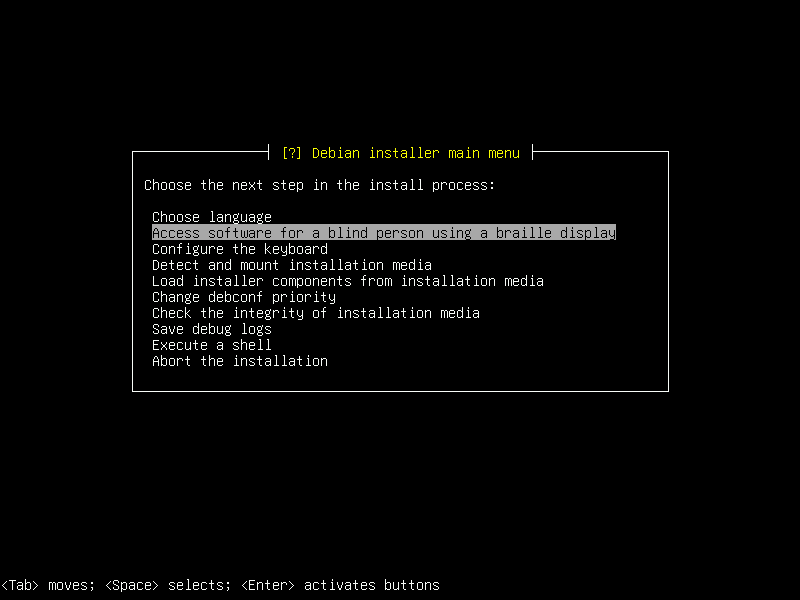
01. Select 'Accessible dark contrast installer menu'
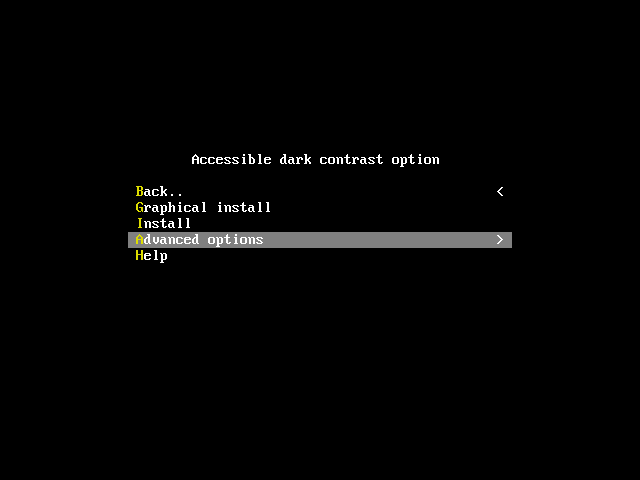
02. Select 'Advanced options'
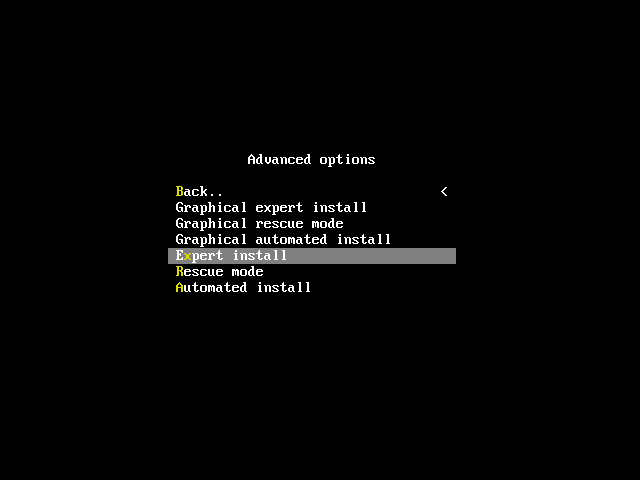
03. Select 'Expert Install'
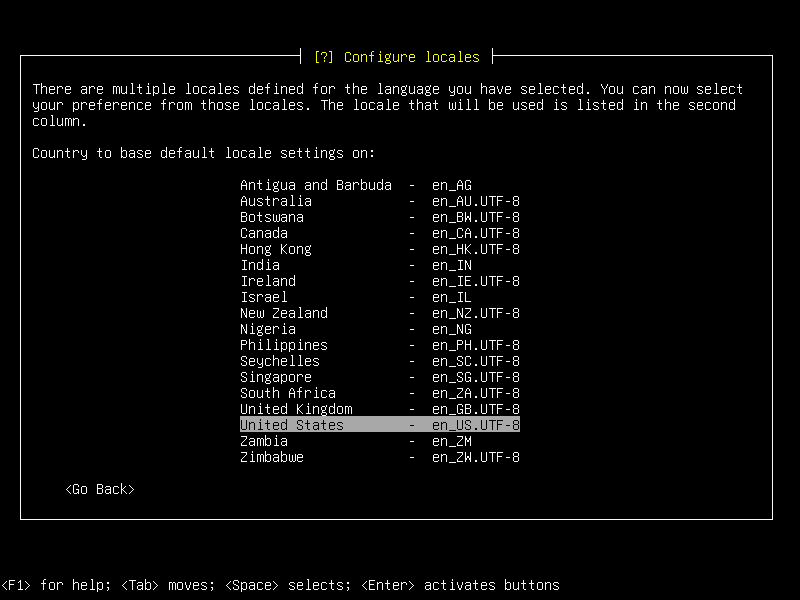
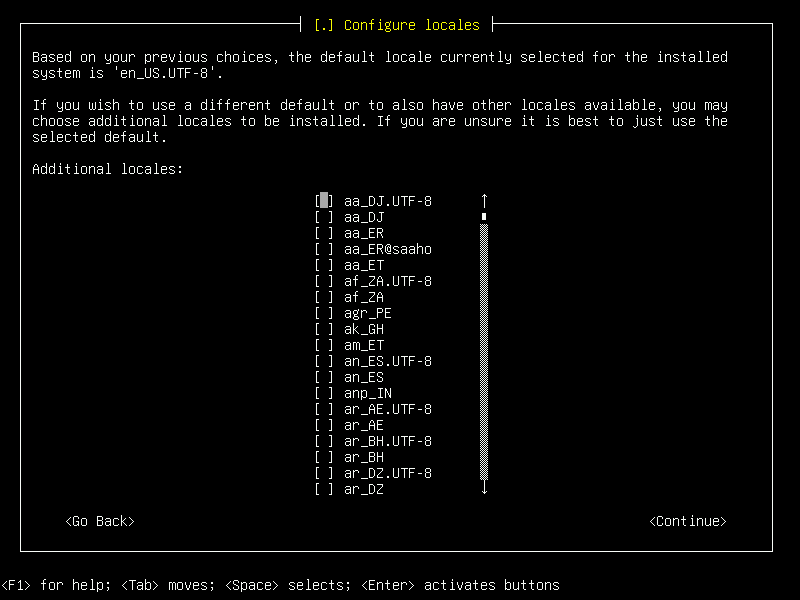
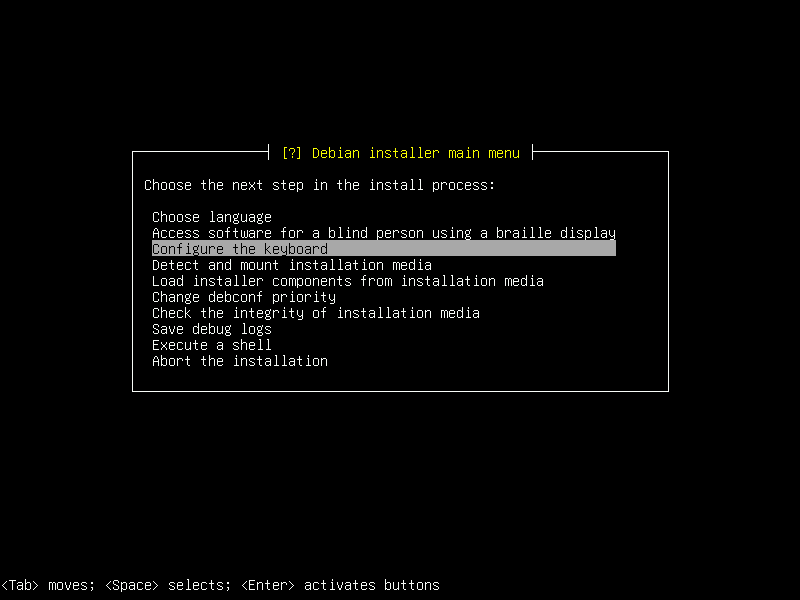
04. Just hit Enter.
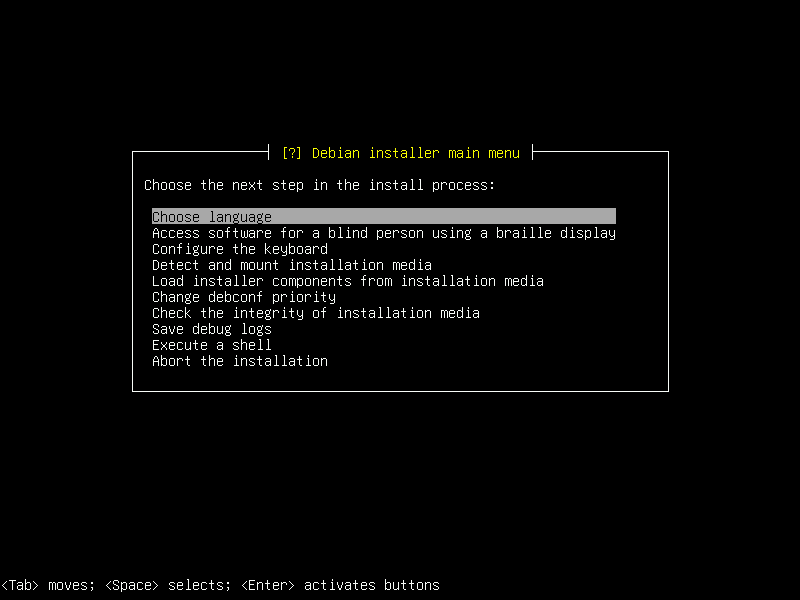
05. Just hit Enter.
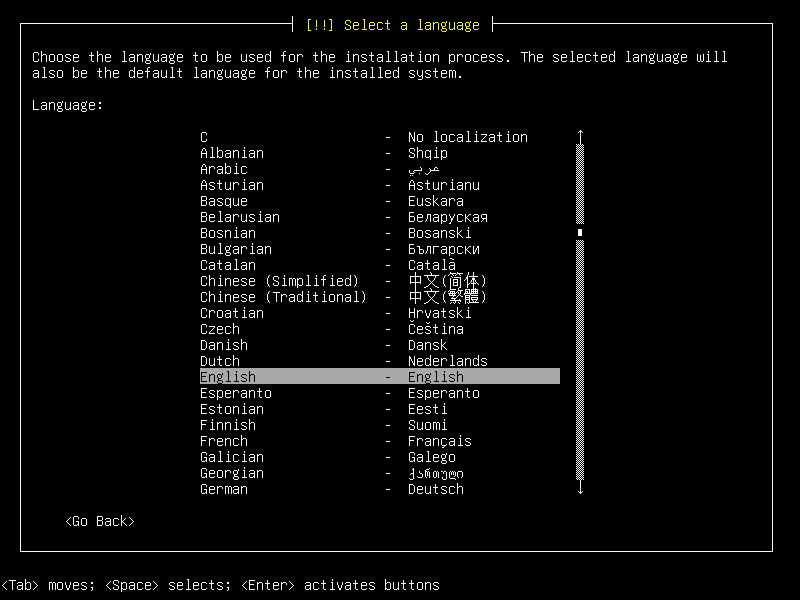
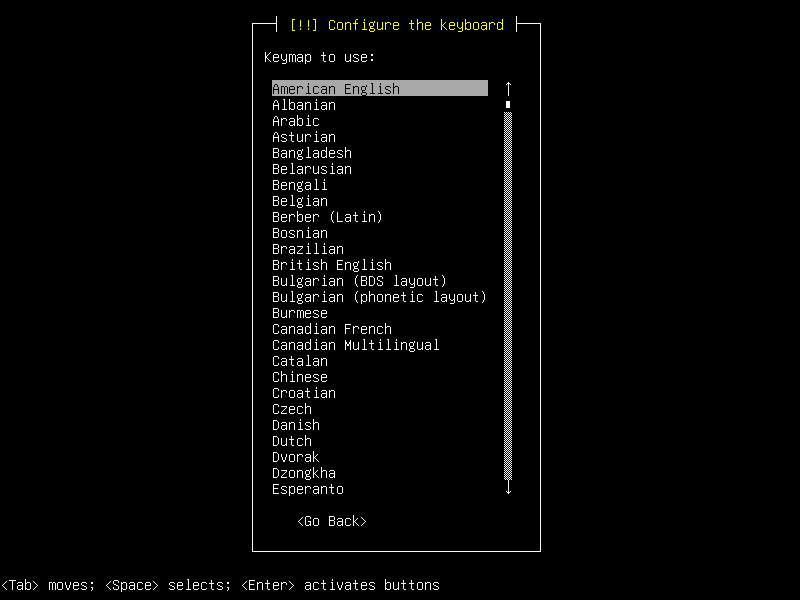
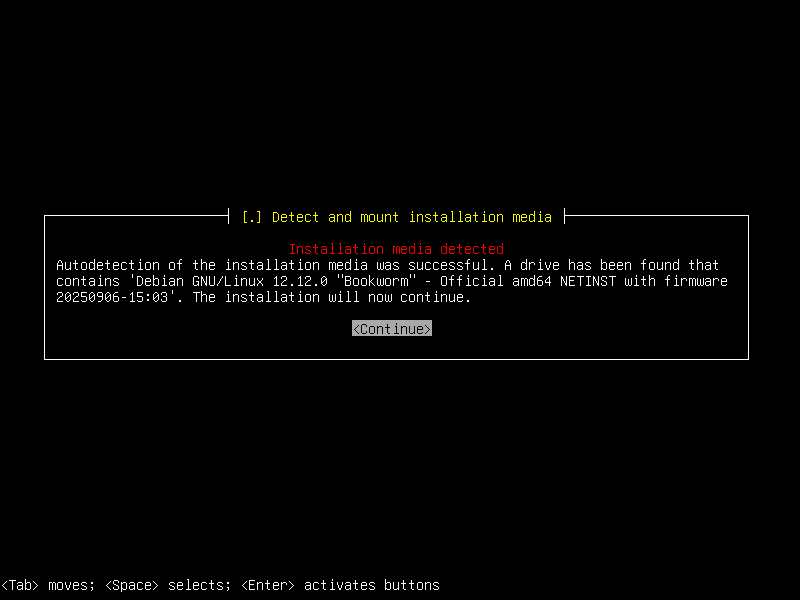
06. Just hit Enter.

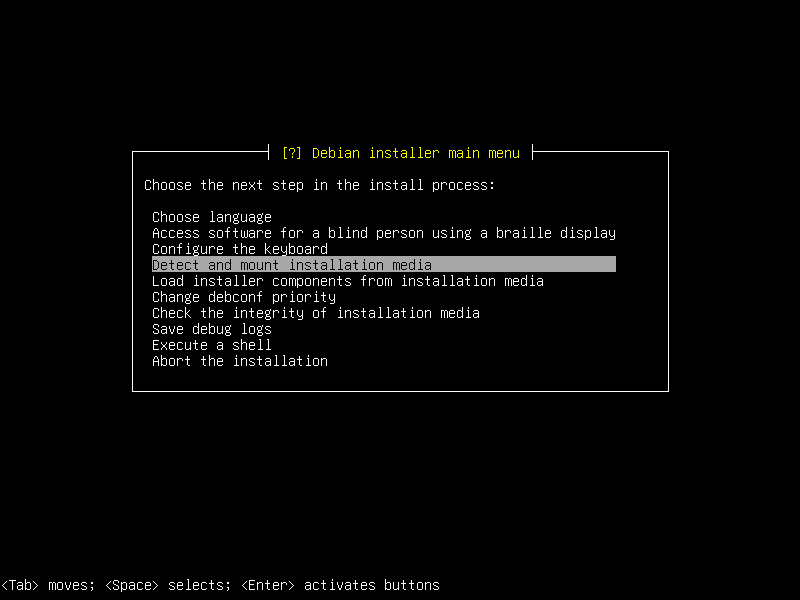
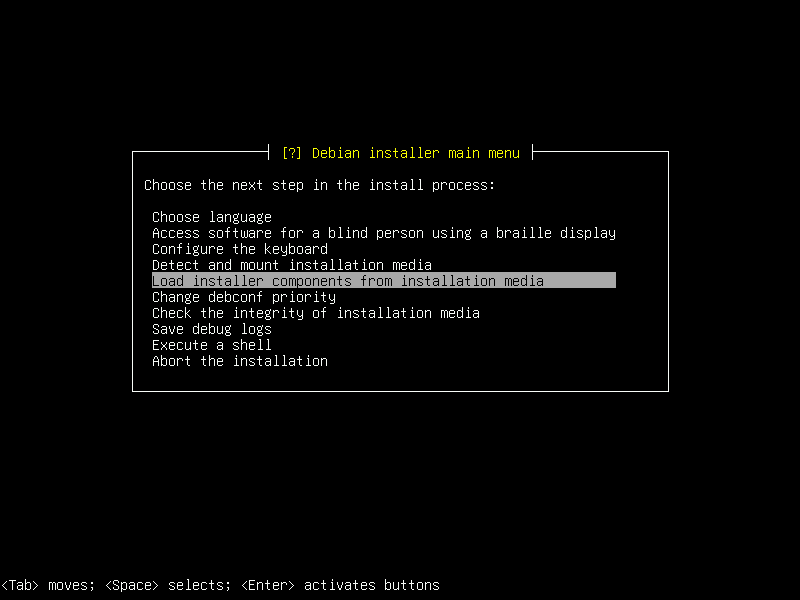
07. Just hit Enter.
08. Just hit Enter.
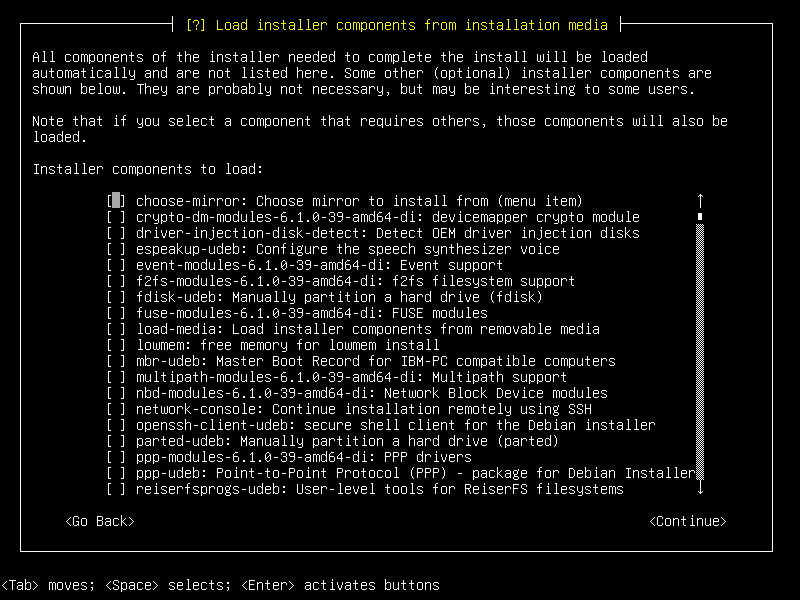
09. Just hit Enter.
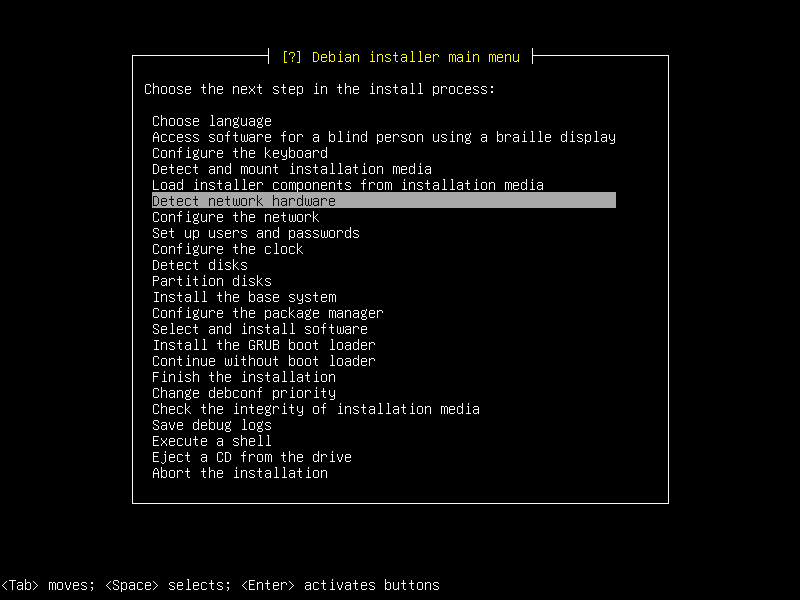
10. Just hit Enter.
11. Just hit Enter.
12. Just hit Enter.
13. Just hit Enter.
14. Just hit Enter.
15. Just hit Enter.
16. Just hit Enter.
17. Just hit Enter.
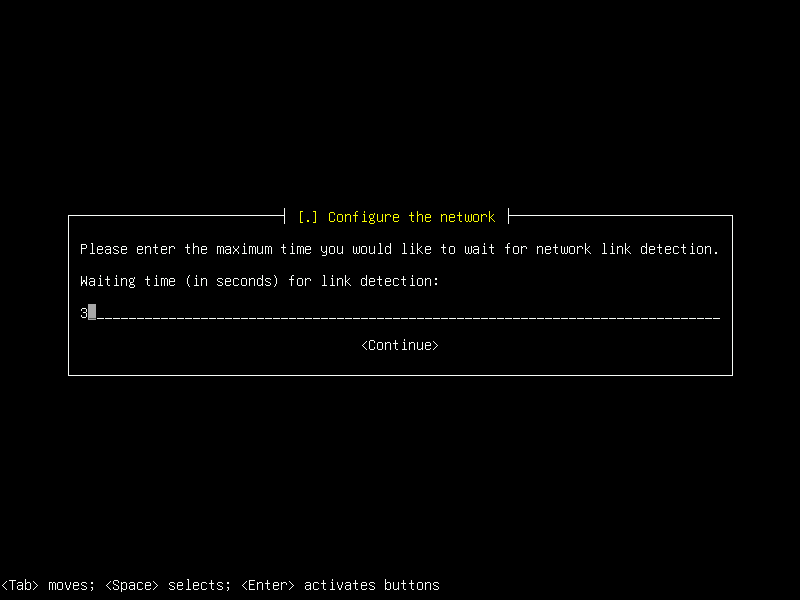
18. Just hit Enter.
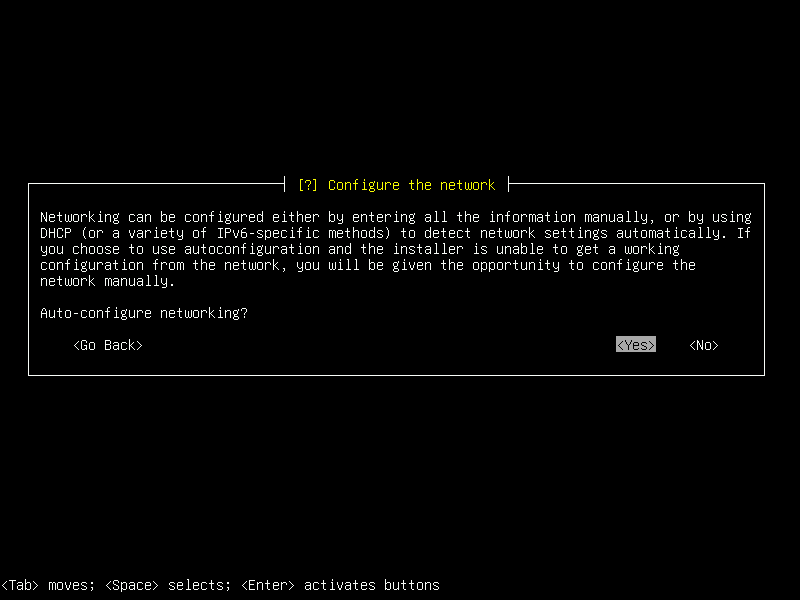
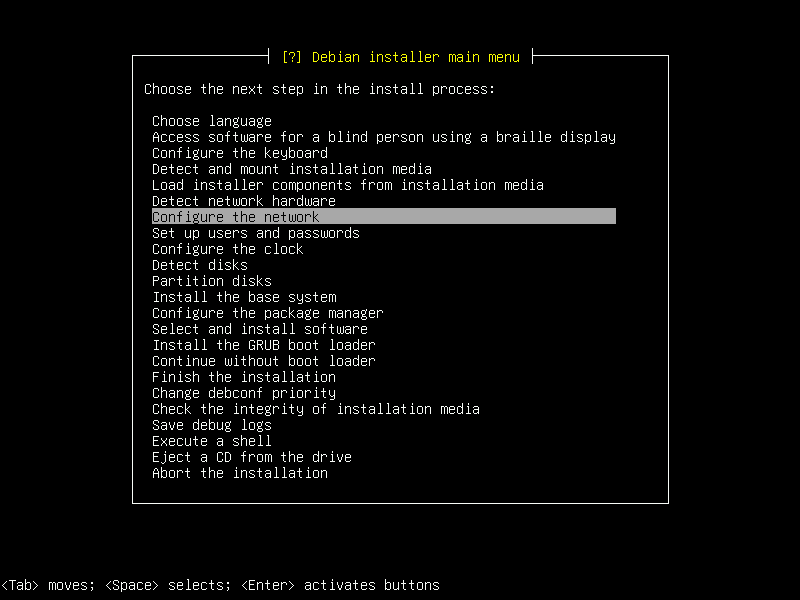
19. Just hit Enter.
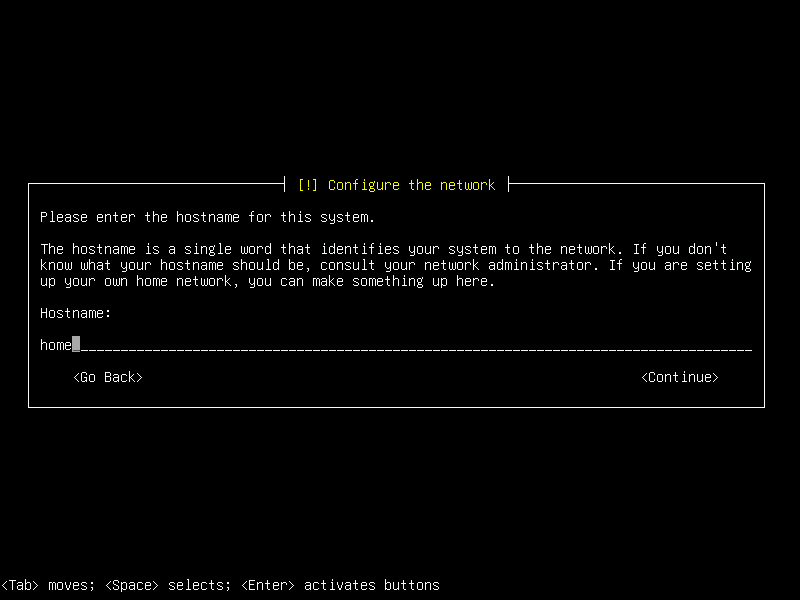
20. Type the Host name. Hit Enter.
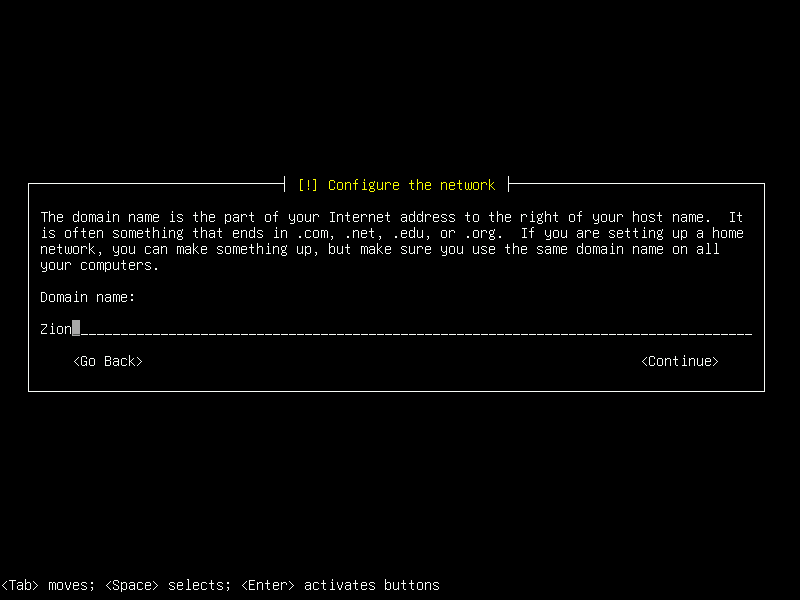
21. Type Domain name. Hit Enter.
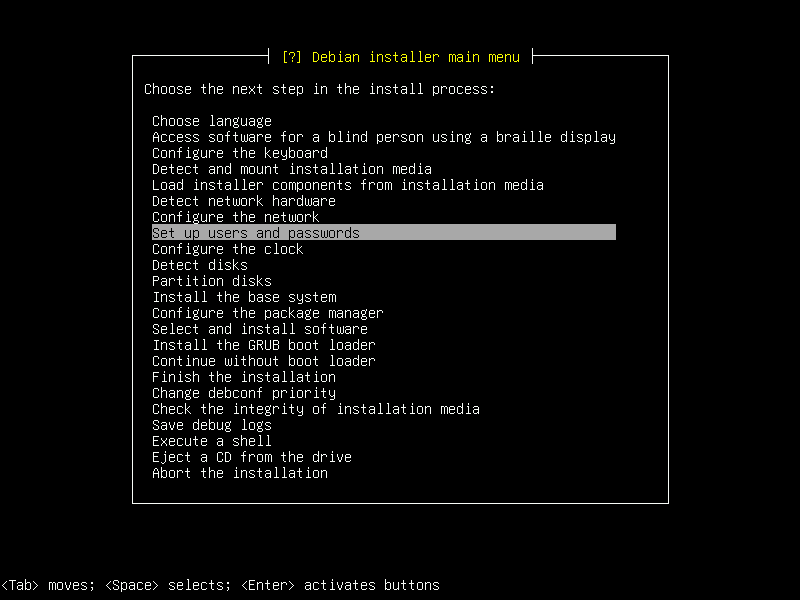
22. Just hit Enter.
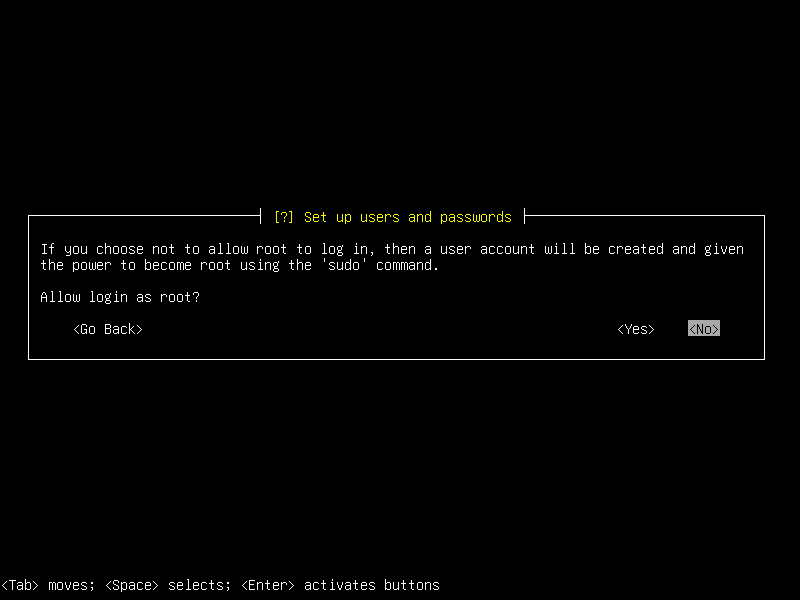
23. Select 'No'. Hit Enter.
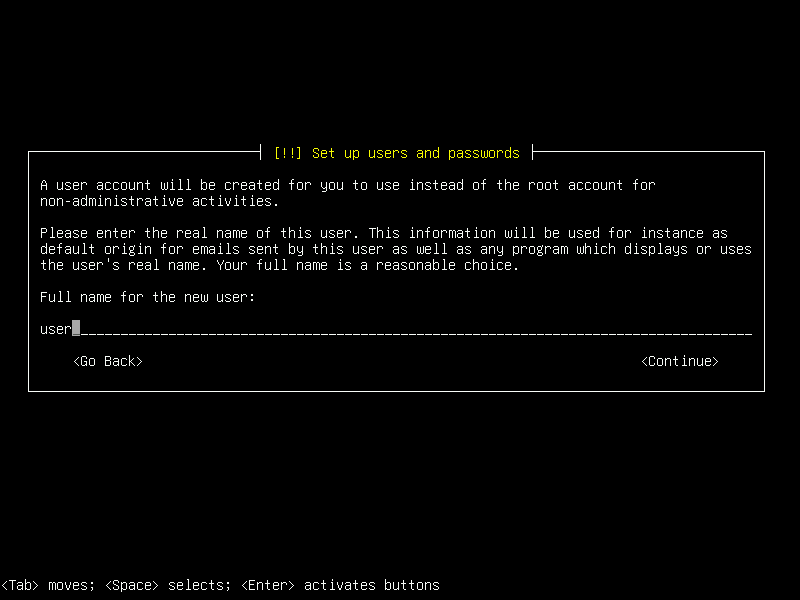
24. Type full name. Hit Enter.
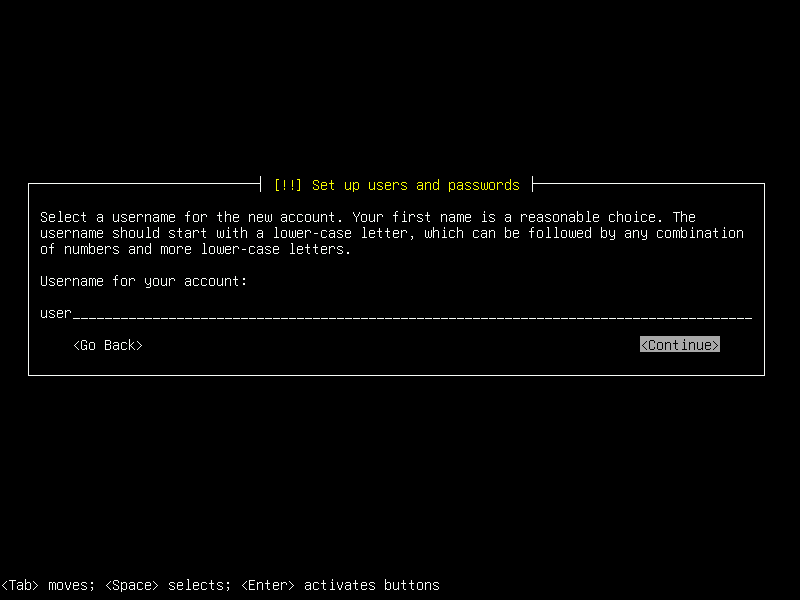
25. Type user name. Hit Enter. Remember this name. You will need it to sign in.
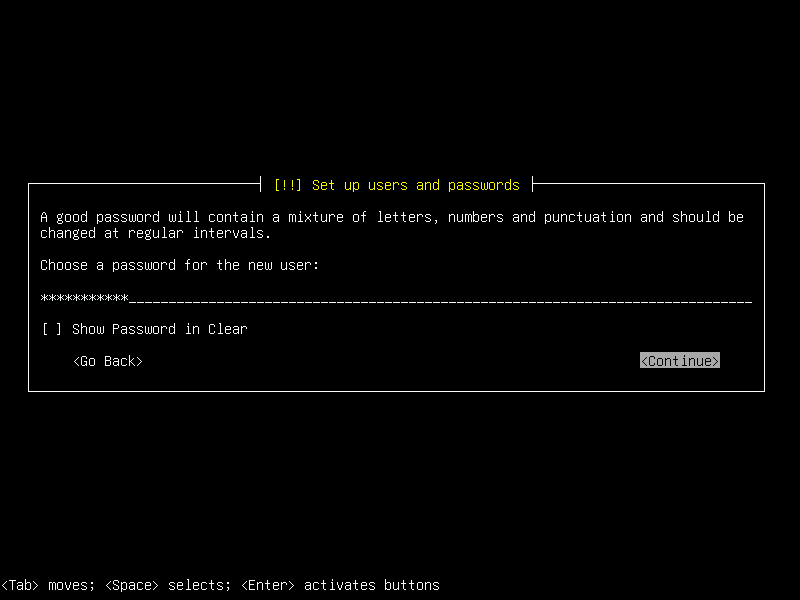
26. Type password. Hit Enter. Write this password down and keep it safe.
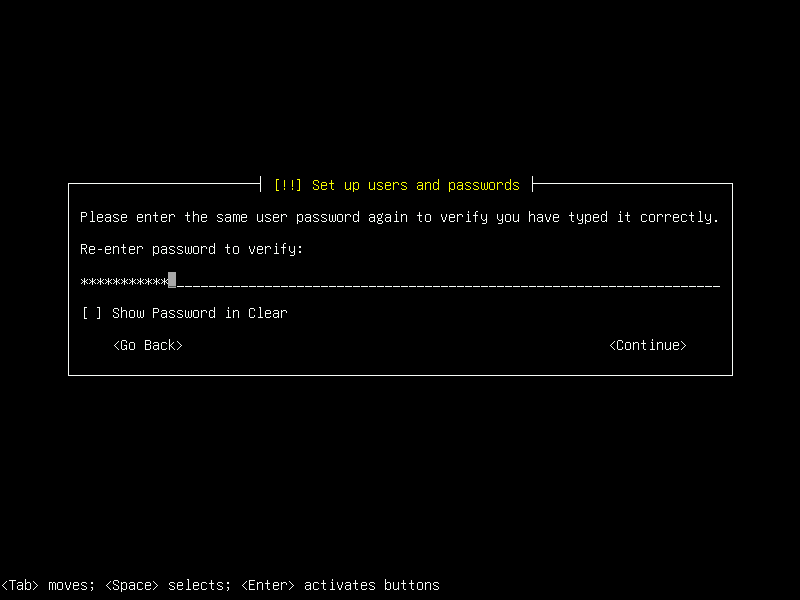
27. Retype password. Hit Enter. Write this password down and keep it safe.
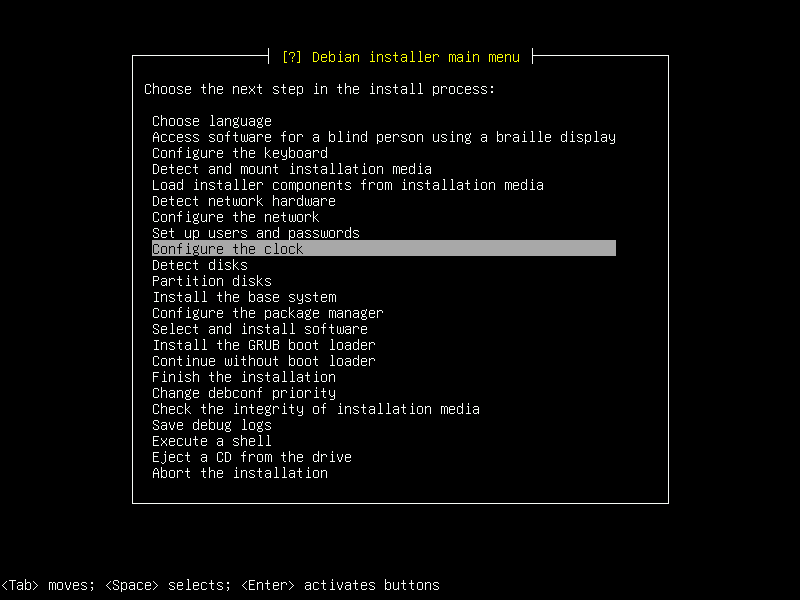
28. Just hit Enter.
29. Just hit Enter.
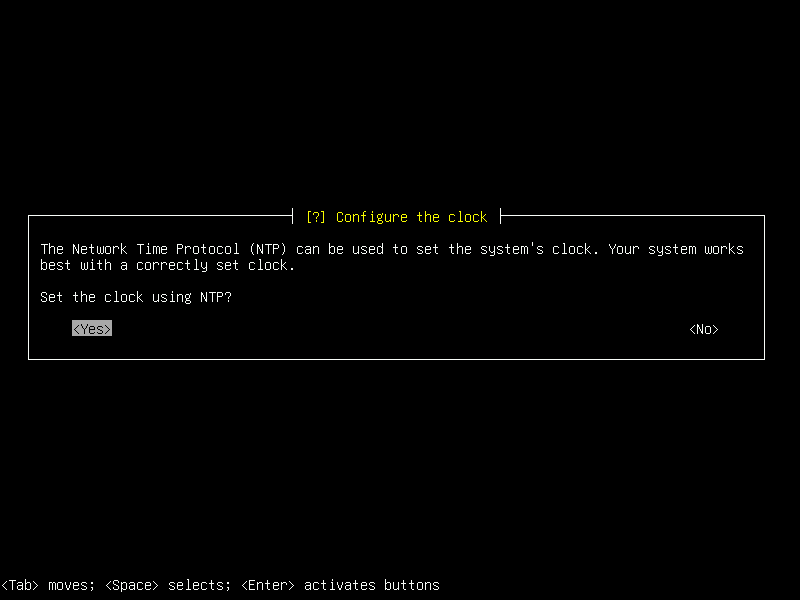
30. Just hit Enter.

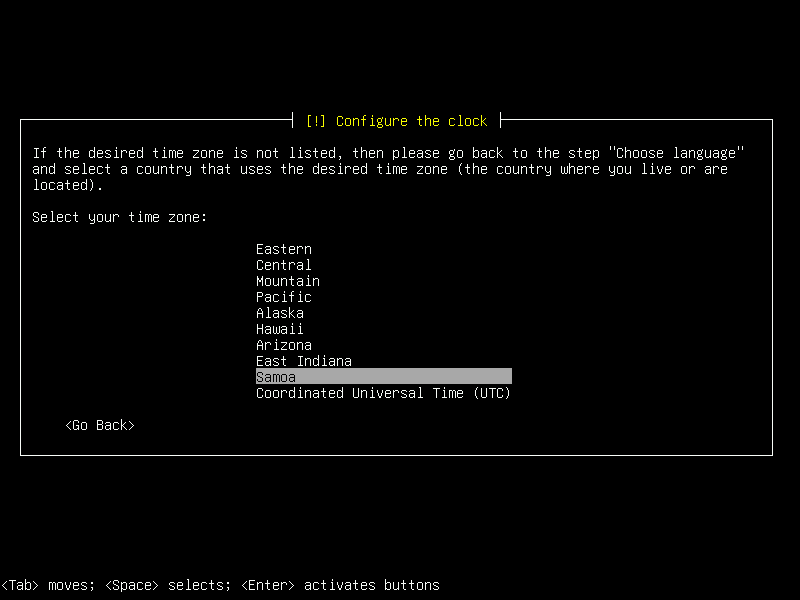
31. Select your time zone. Hit Enter.
32. Just hit Enter.
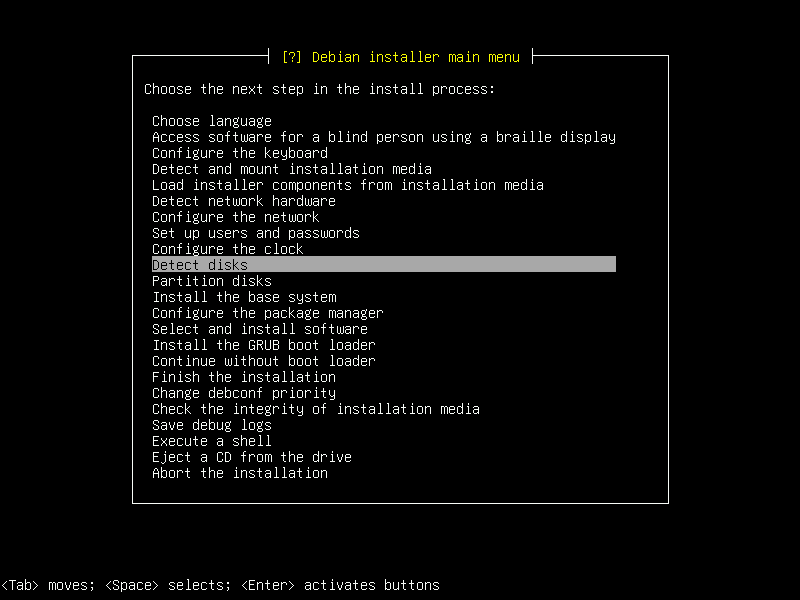
33. Just hit Enter.
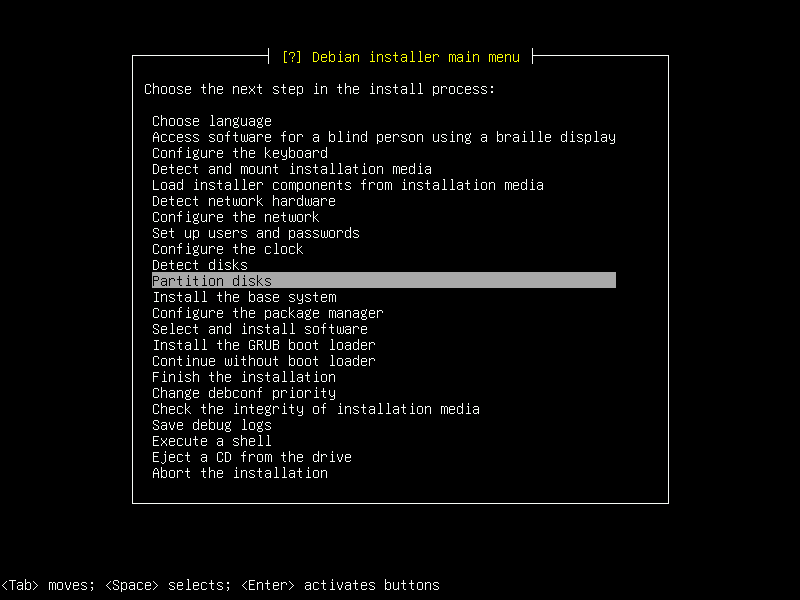
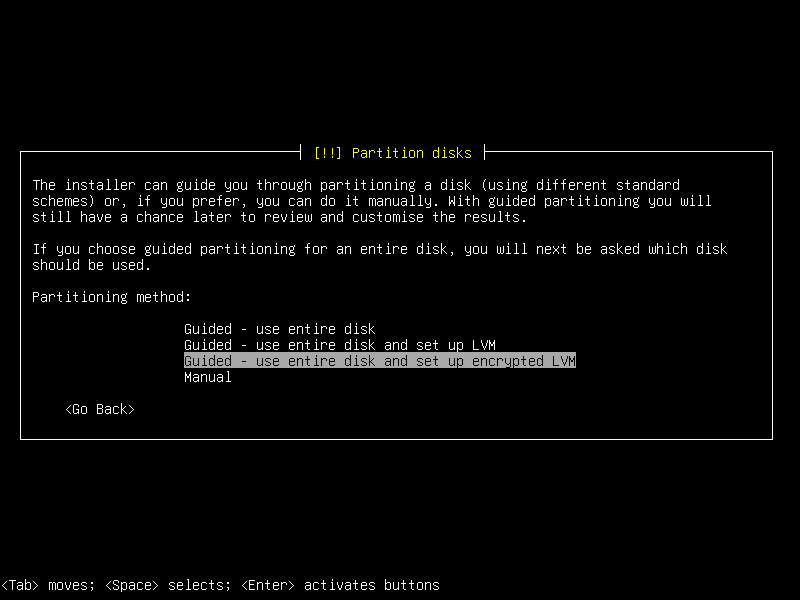
34. Select 'use entire disk and set up encrypted LVM'. Hit Enter.
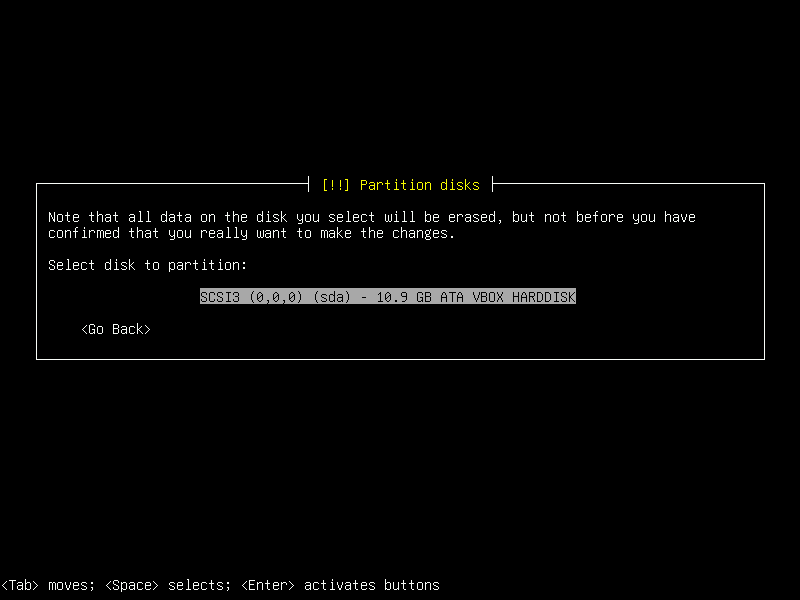
35. Select disk. Use your brain here. Don't select the installation USB drive!
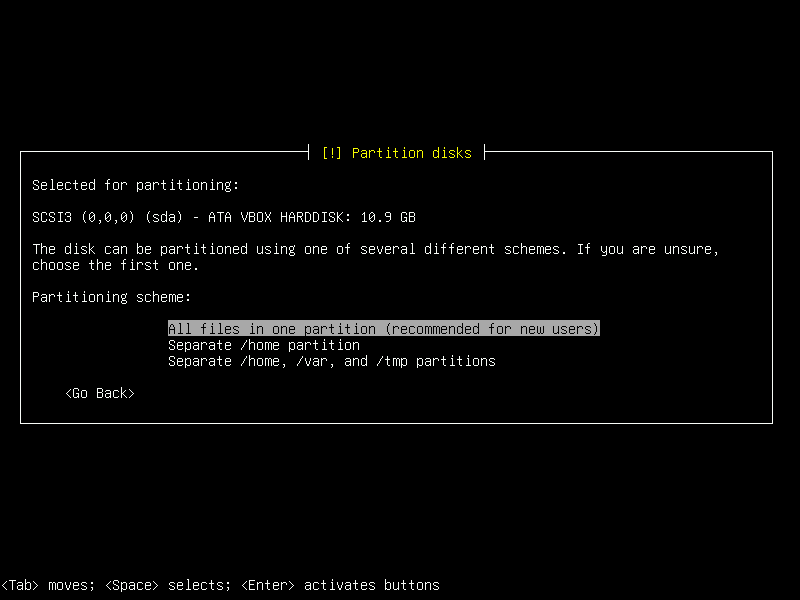
36. Just hit Enter.
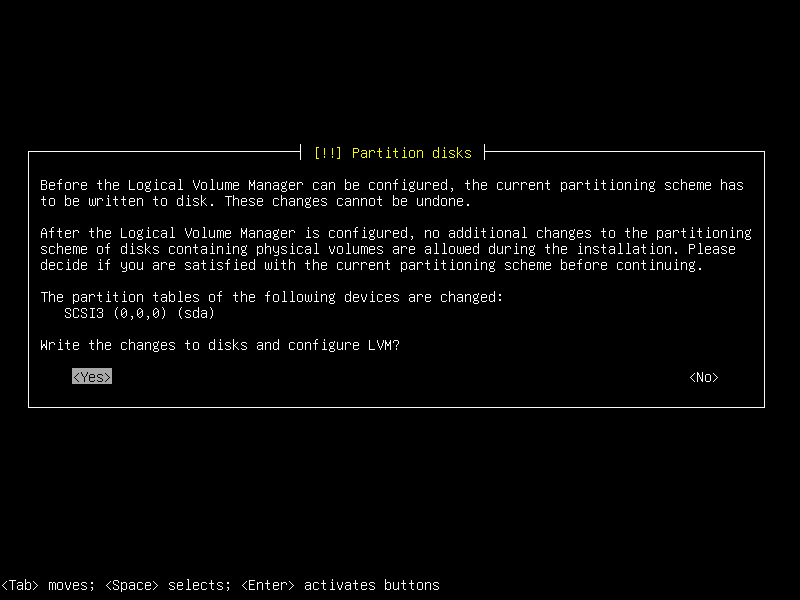
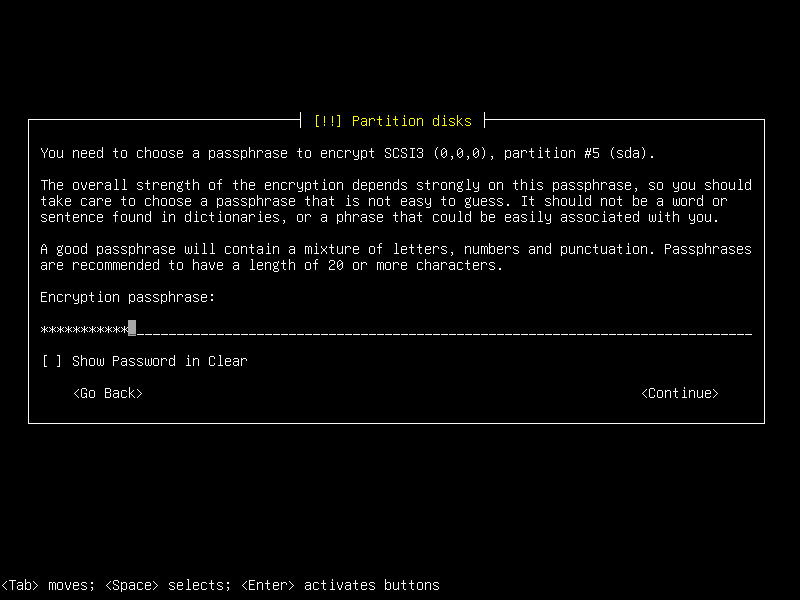
37. Select 'Yes'. Hit Enter.
38. Type Password. Hit Enter. Write this password down and keep it safe.
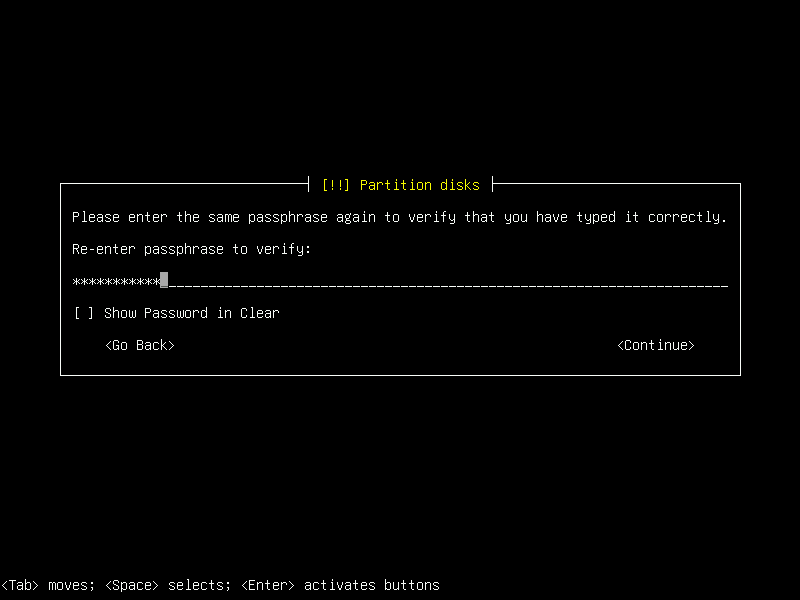
39. Retype password. Hit Enter. Write this password down and keep it safe.
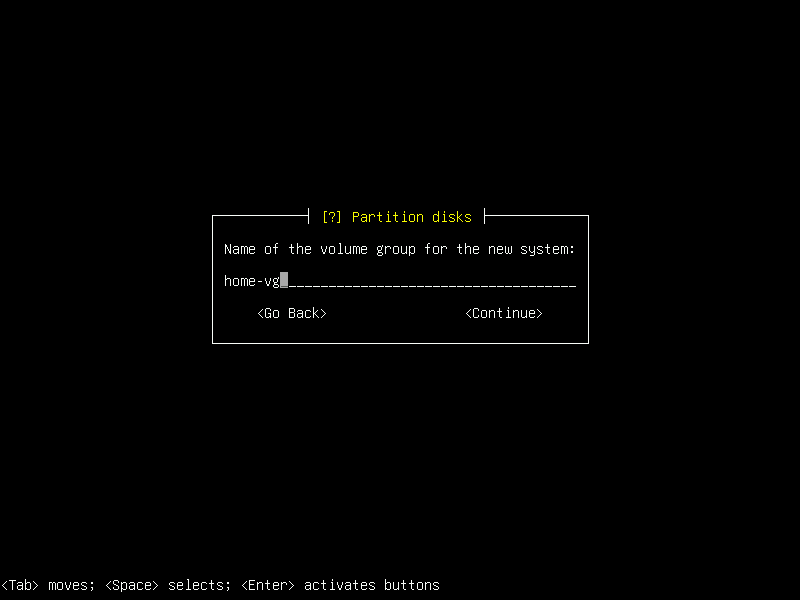
40. Just hit Enter.
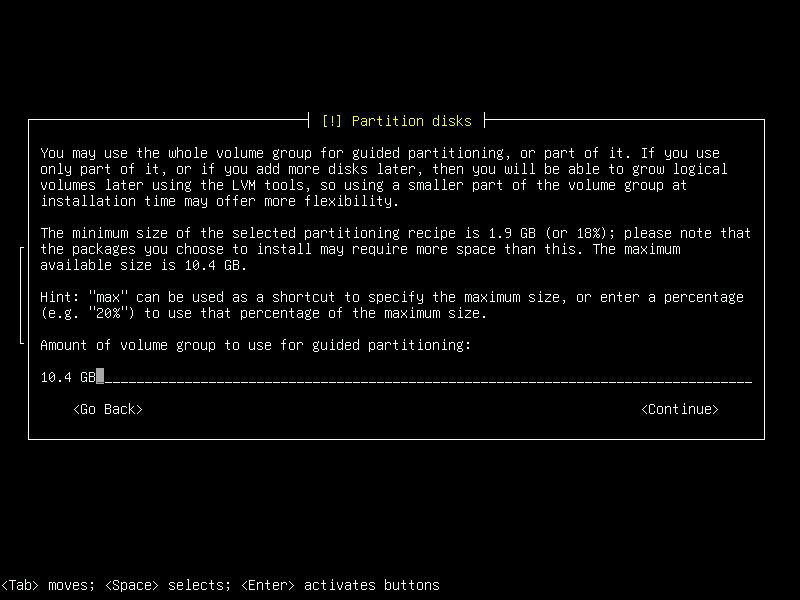
41. Just hit Enter.
42. Just hit Enter.
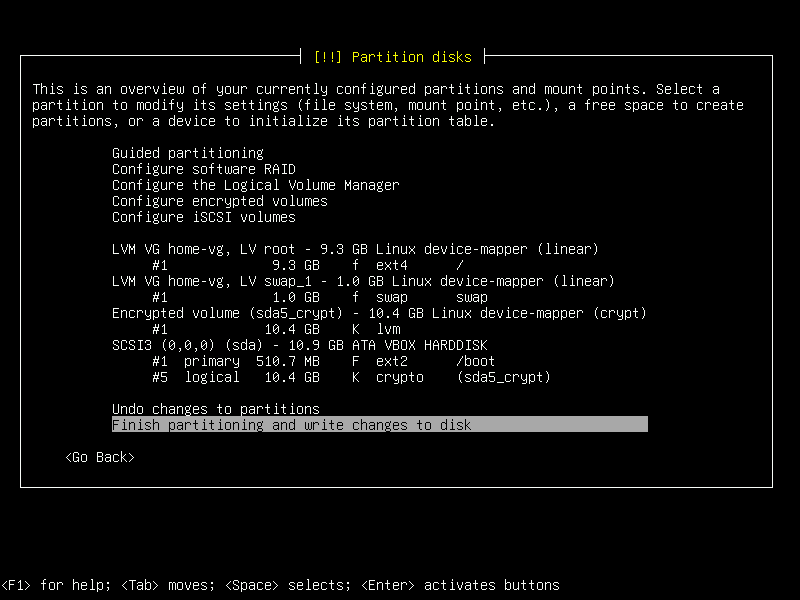
43. Select 'Yes'. Hit Enter.

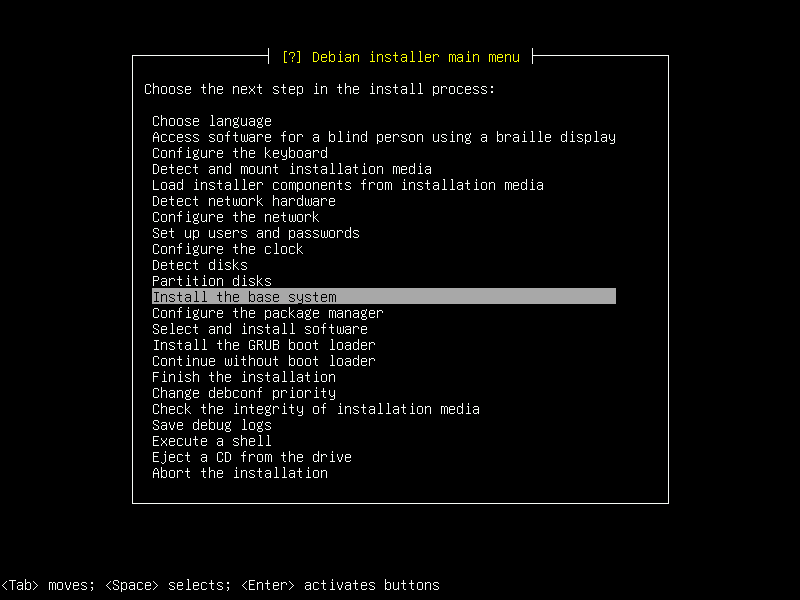
44. Just hit Enter.
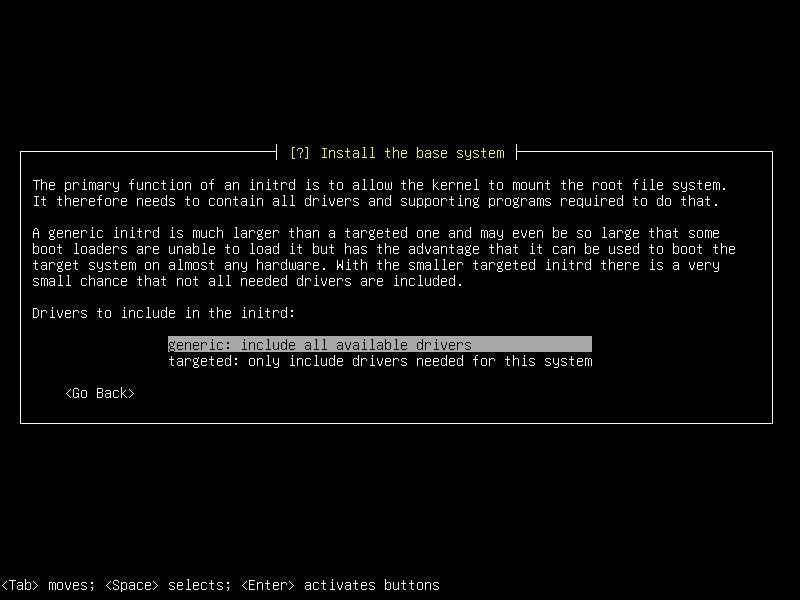
45. Just hit Enter.

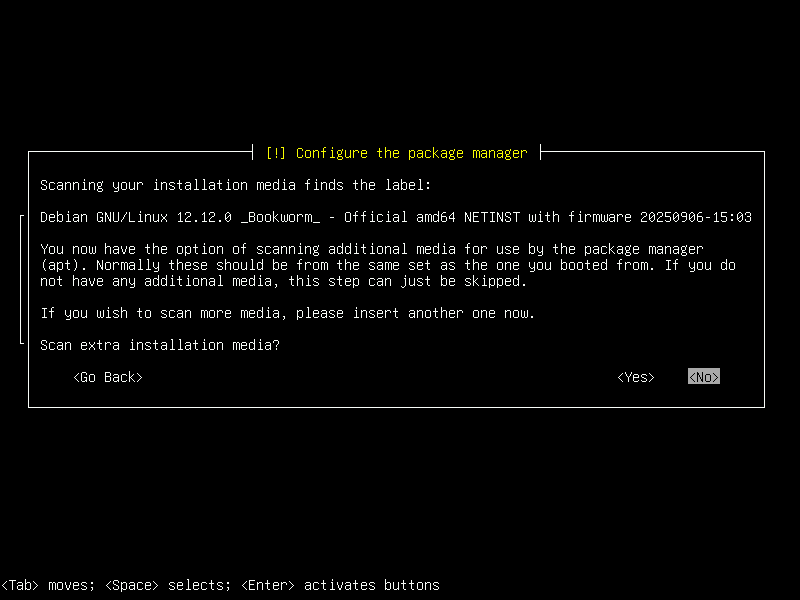
46. Just hit Enter.
47. Just hit Enter.

48. Just hit Enter.
49. Just hit Enter.
50. Just hit Enter.
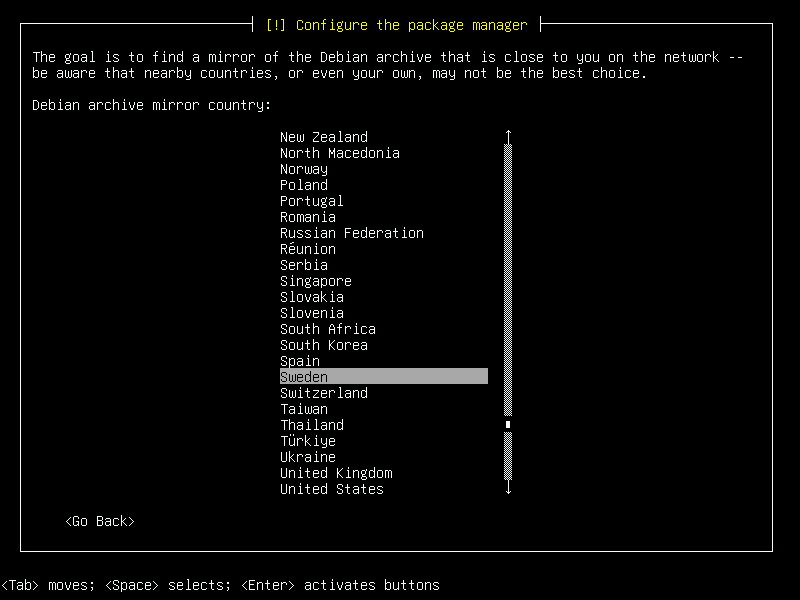
51. Select 'Sweden'. Hit Enter.
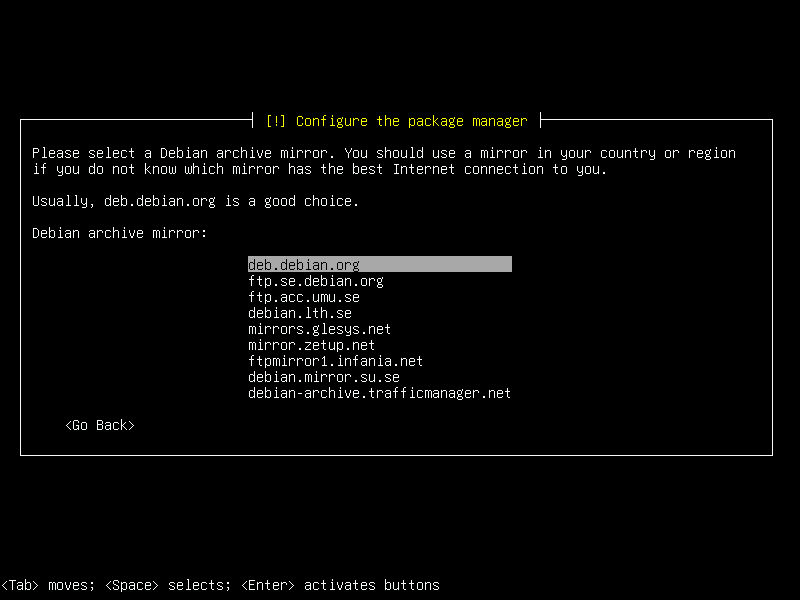
52. Just hit Enter.
53. Just hit Enter.
54. Just hit Enter.
55. Just hit Enter.
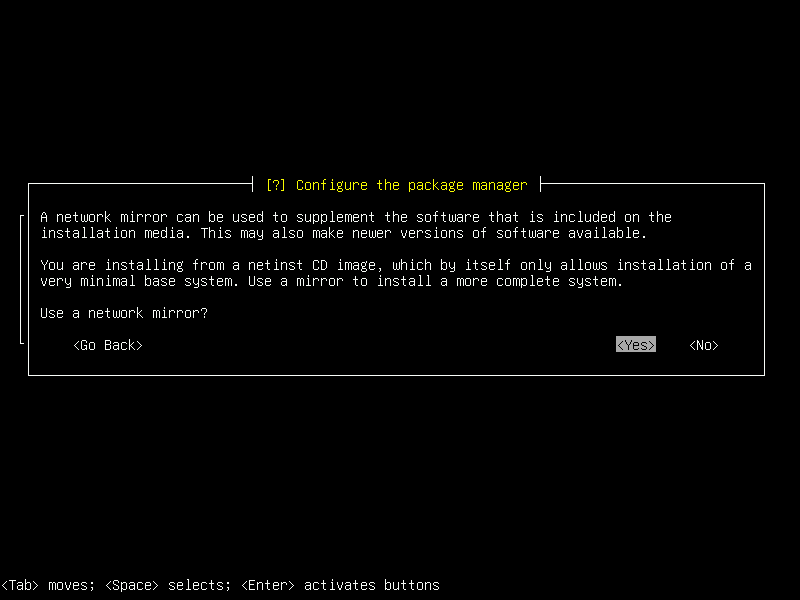
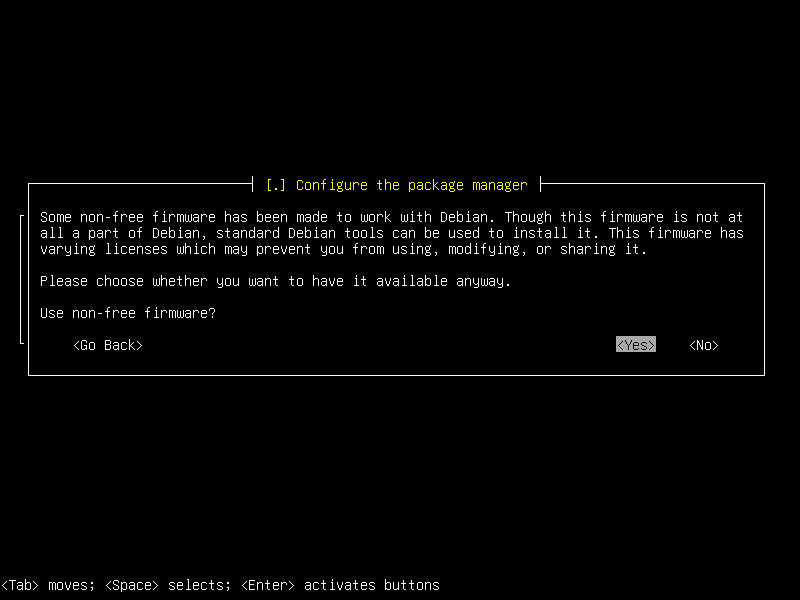
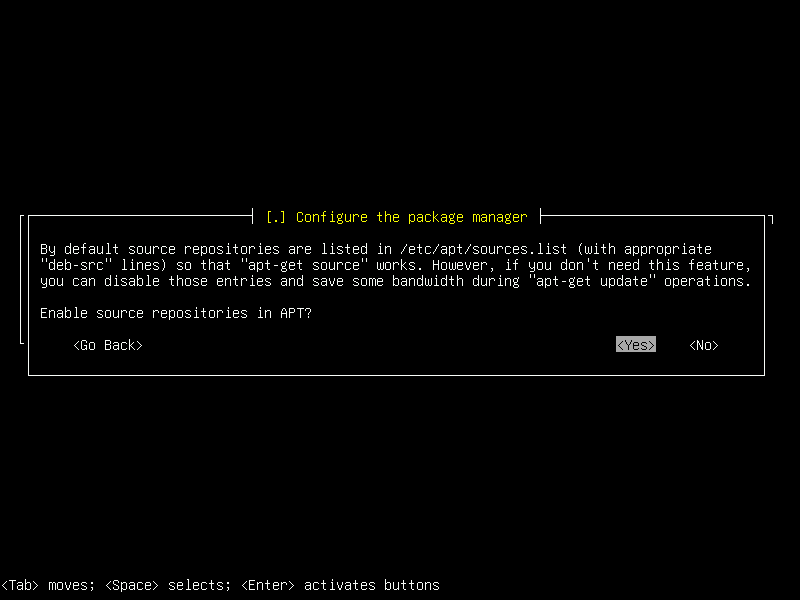
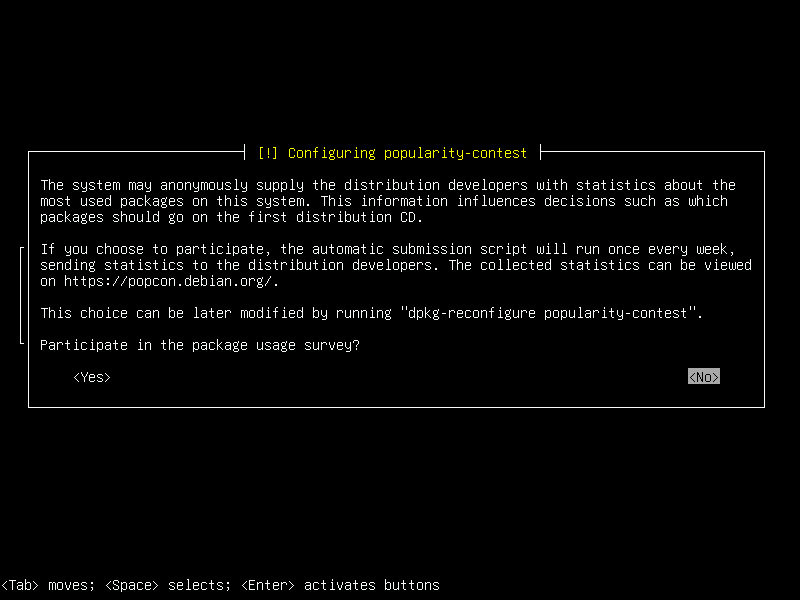
56. Select 'Yes'. Hit Enter. This allows you to download Tor Browser using CLI.
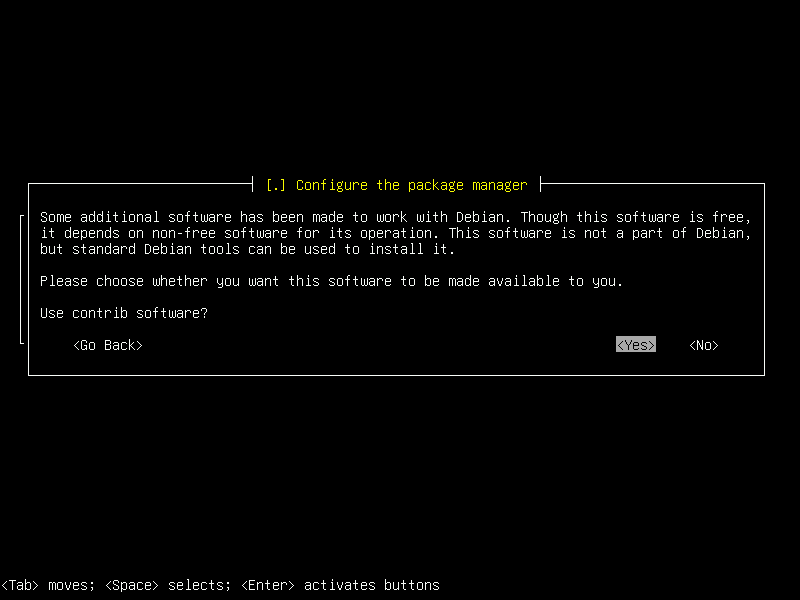
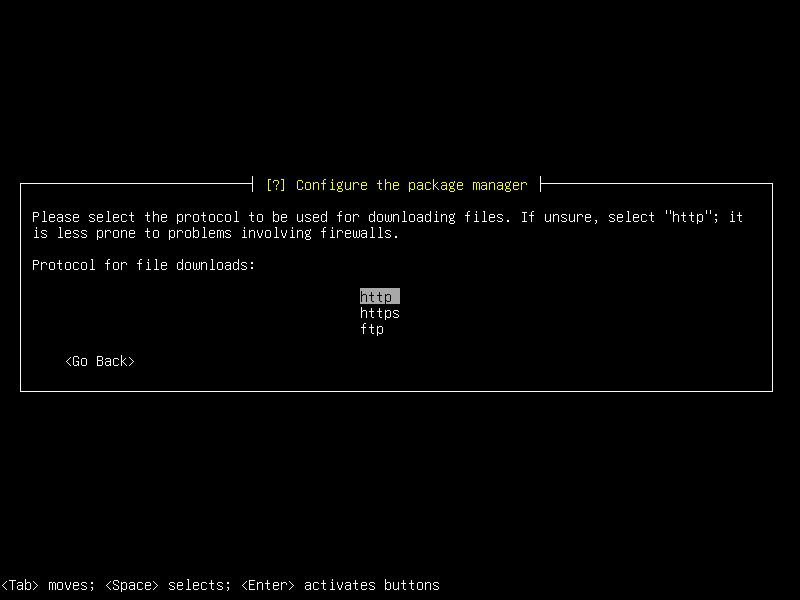
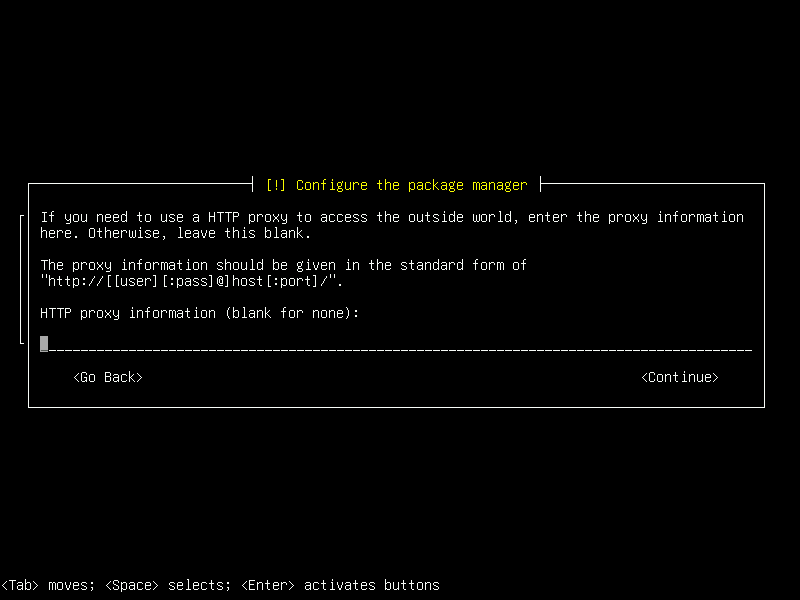
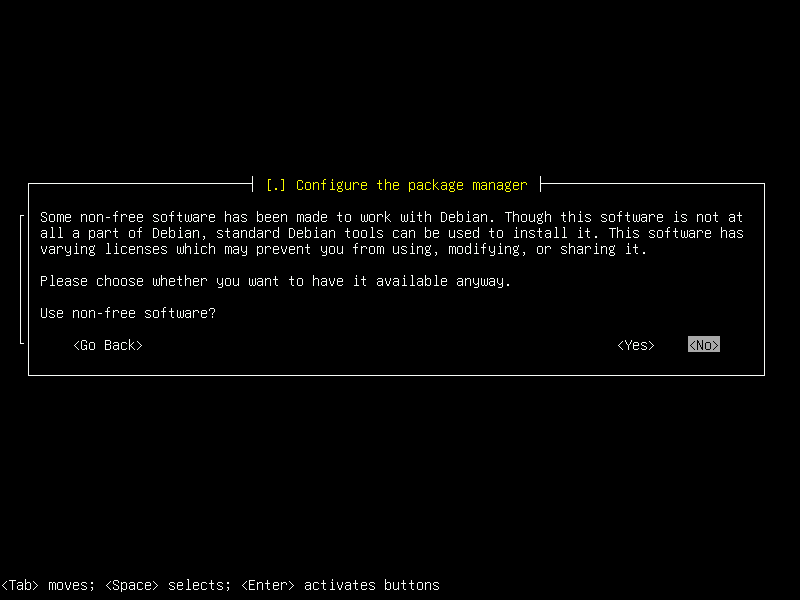
57. Just hit Enter.
58. Just hit Enter.
59. Just hit Enter.
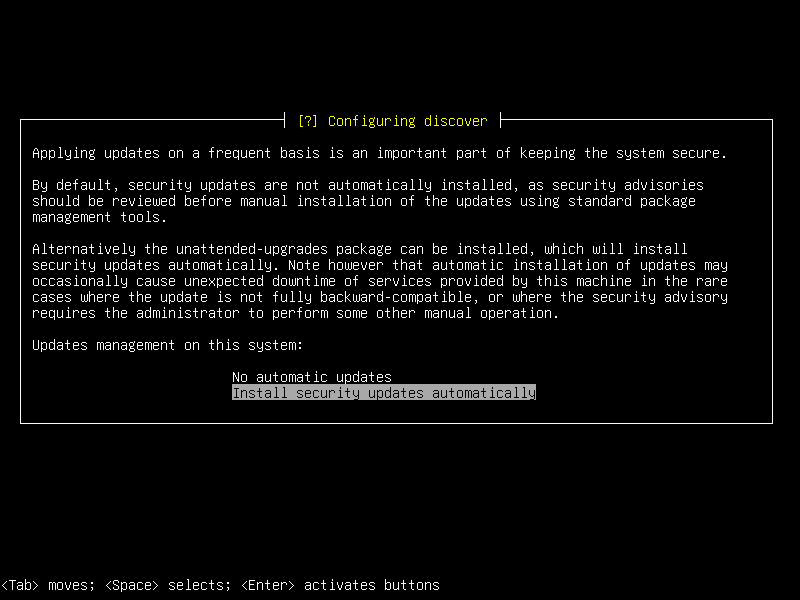
60. Optionally, Select 'Install security updates automatically'. Hit Enter.
61. Just hit Enter.
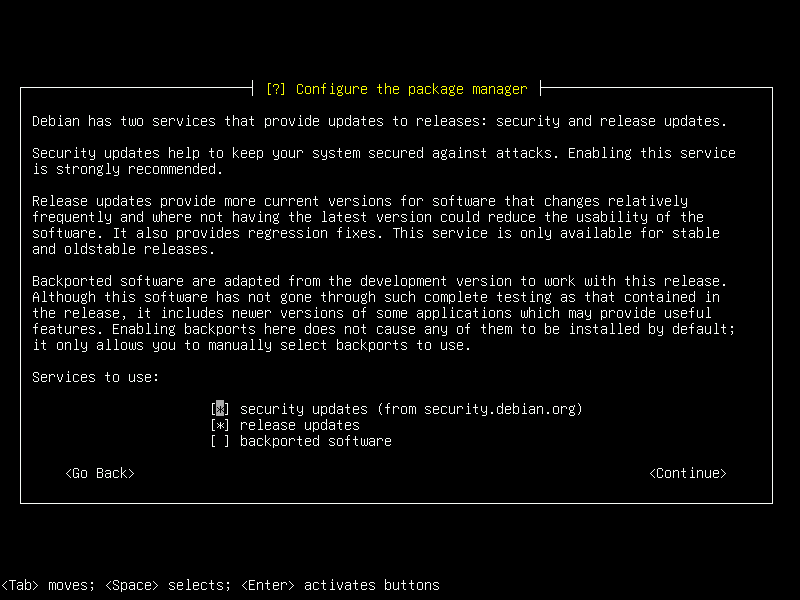
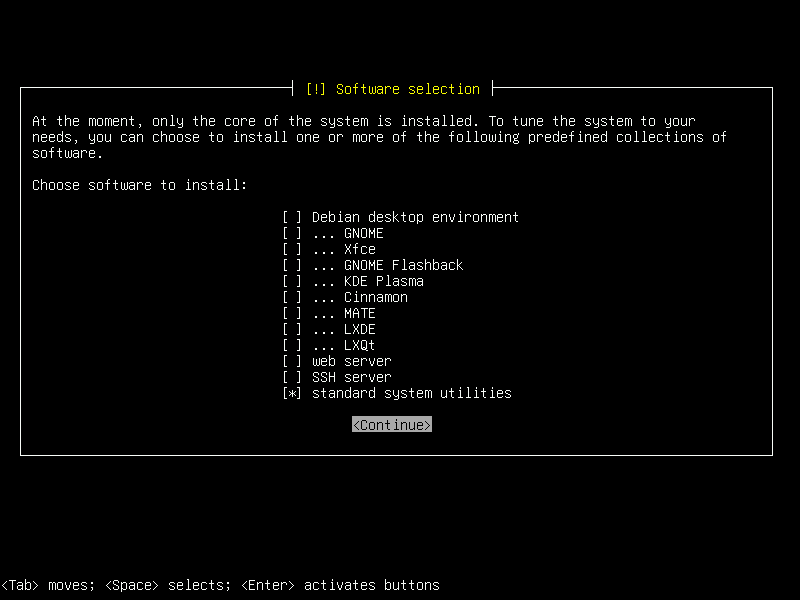
62. Deselect all boxes except bottom one using arrows and Spacebar. Hit Enter.
note: When installing like an expert start off with command line interface only and add minimal desktop environment, such as i3-wm or mate-core or even gnome-core as needed. A minimal install saves system memory and increases security by reducing attack surface.
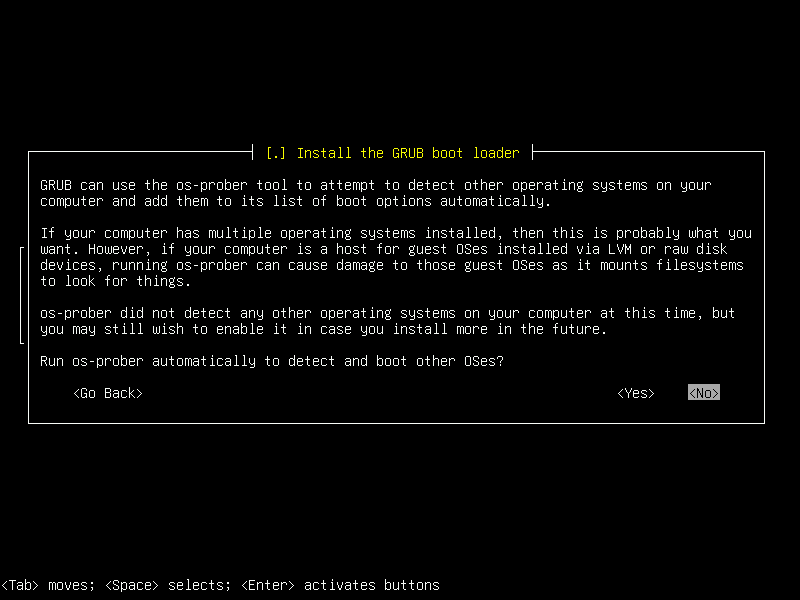
63. Just hit Enter.

64. Just hit Enter.
65. Just hit Enter.
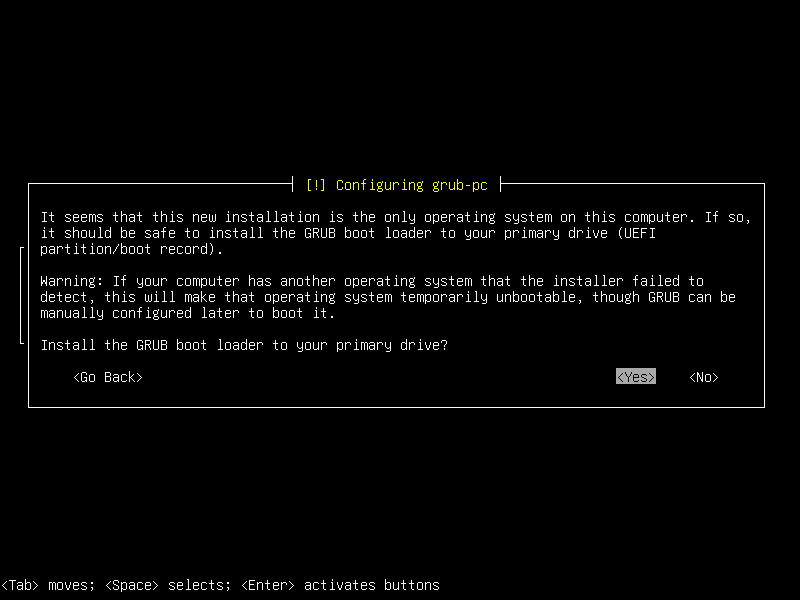
66. Use your brain. Select your main hdd/ssd not the usb. Hit Enter.
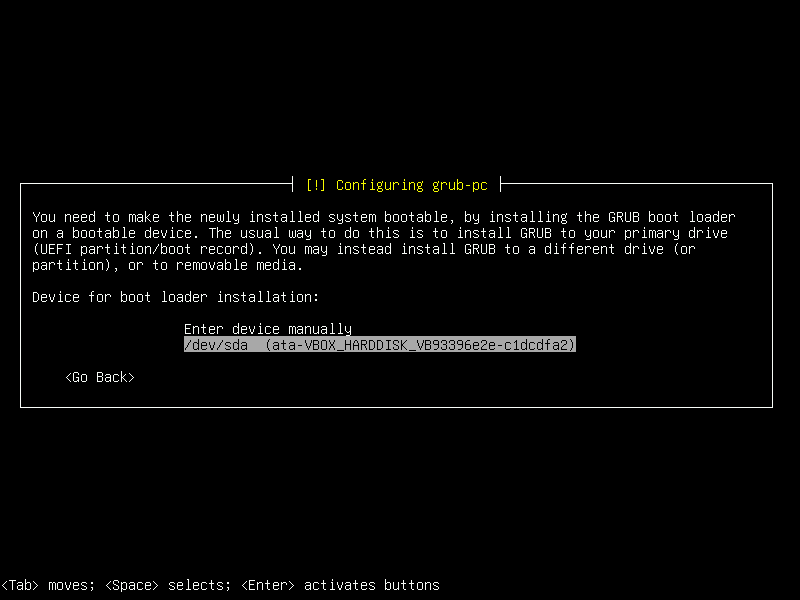
67. Just hit Enter.
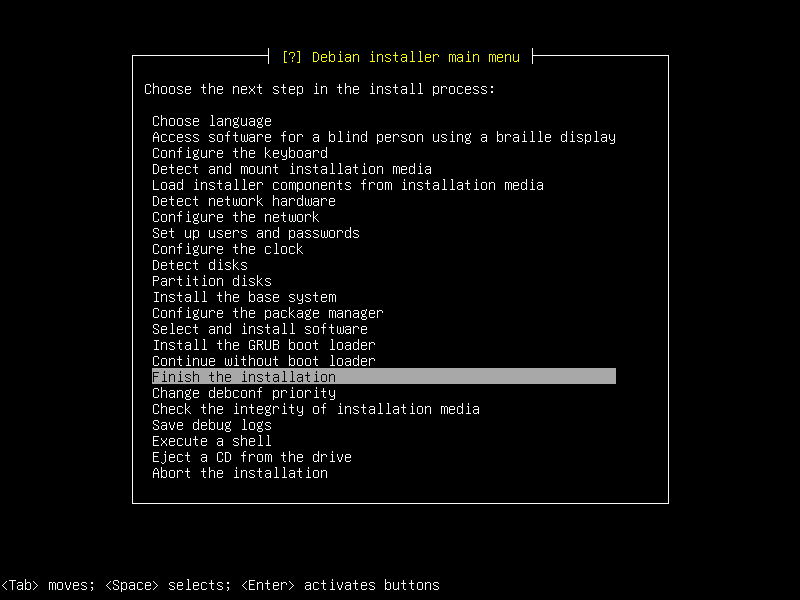
68. Just hit Enter.
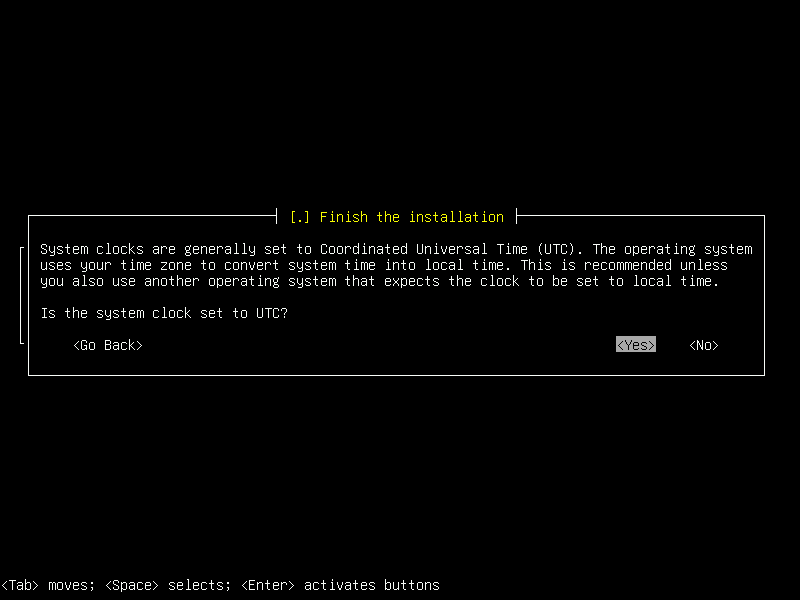
69. Just hit Enter. That's it, you're done installing.
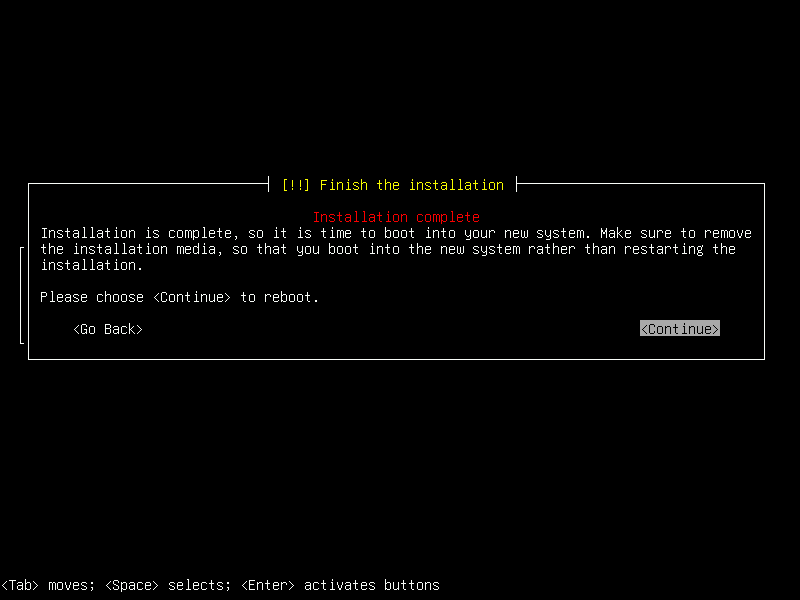
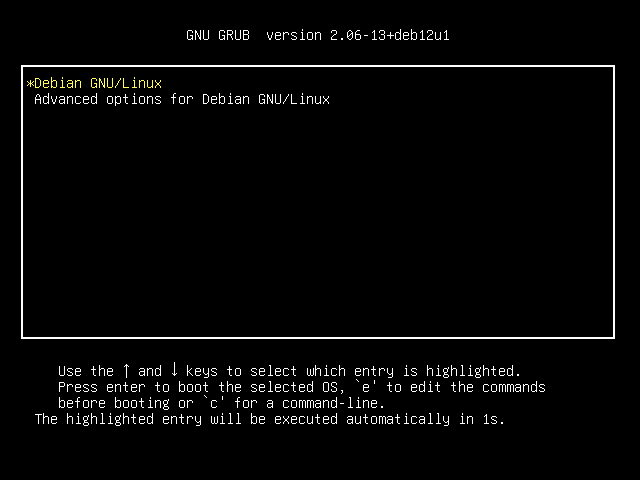
70. When you reboot you'll see this screen. Just hit Enter.
Next you'll be asked for your encryption password, user name, and user password. Hope you wrote them down somewhere safe. Great work!